
One more Arduino tutorial. This time will be explained how to control devices with an IR remote control. The operation of IR (infrared) control will be subject to another post.
Second edition
I made some tests and I found mistakes in the codes presented in this post. This second edition replaces algorithms with mistakes for others that have been tested and do work.
Connections
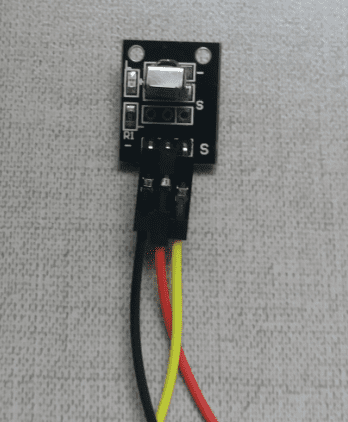
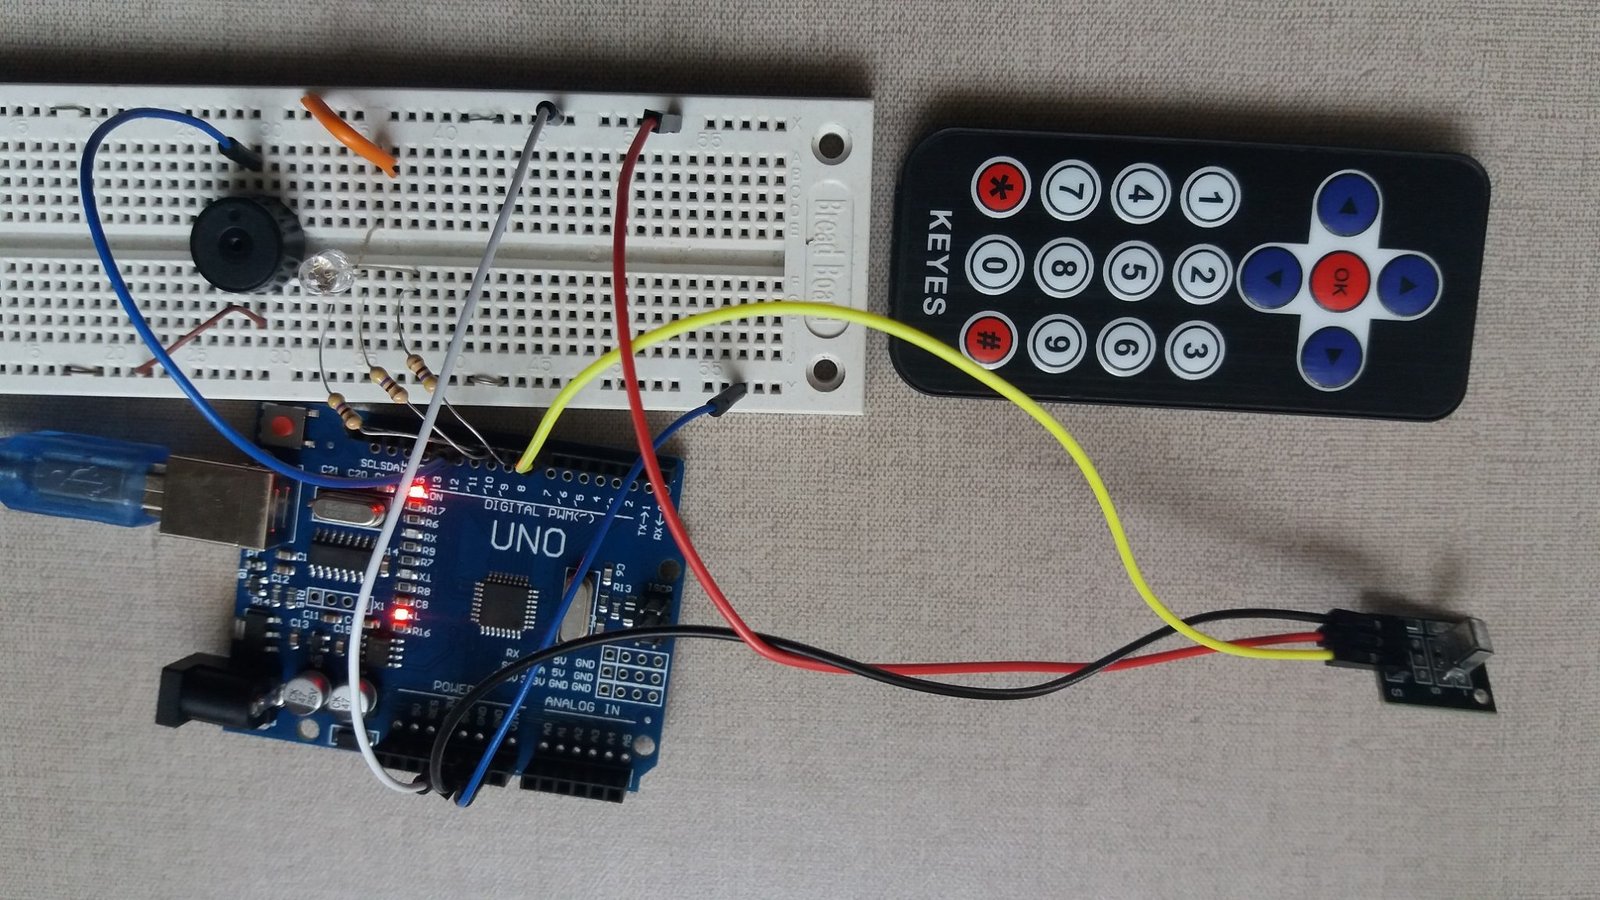
First, we must connect the receiver module to Arduino.

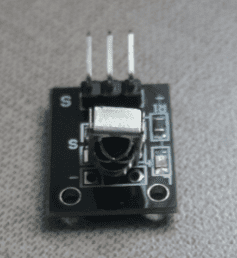
The pin next to the signal “-” is the ground, the pin in the middle is to 5V and the pin next to the “S” is to receive the IR signal. The signal pin must be linked to a digital input.

Adding new library
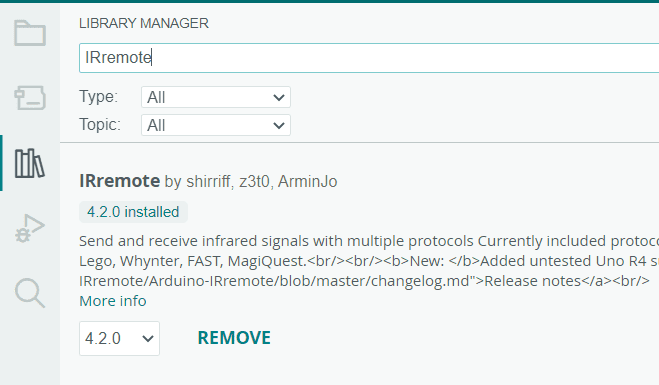
Before write the algorithm, it’s necessary to download a library called “IRremote.h”. On Arduino’s window, click on “Tools ->Manage Libraries …”.

Algorithm and new commands
This is the algorithm that tests IR remote control.
#include <IRremote.h>
#define IR_RECEIVE_PIN 7
void setup() {
Serial.begin(9600);
IrReceiver.begin(IR_RECEIVE_PIN);
}
void loop() {
if (IrReceiver.decode()) {
IrReceiver.resume();
Serial.println(IrReceiver.decodedIRData.command);
}
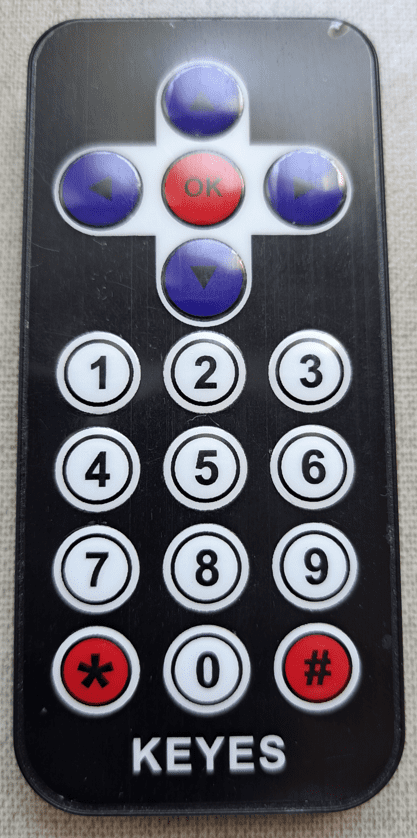
}The serial screen must appear as shown below. Must appear a different number for each pressed button on the remote control.

The new commands. This one defines the IR receiver data pin.
define IR_RECEIVE_PIN 7
Receiver initialization.
IrReceiver.begin(IR_RECEIVE_PIN);
Verifies if it’s receiving IR signal (IrReceiver.decode()). If yes, Arduino reads the data (IrReceiver.resume();) and prints the decoded value (Serial.println(IrReceiver.decodedIRData.command);).
if (IrReceiver.decode()) {
    IrReceiver.resume();
    Serial.println(IrReceiver.decodedIRData.command);
  }
Some projects
This project controls a RGB LED and a buzzer with IR remote control. Here shows the RGB LED and buzzer connected to Arduino.
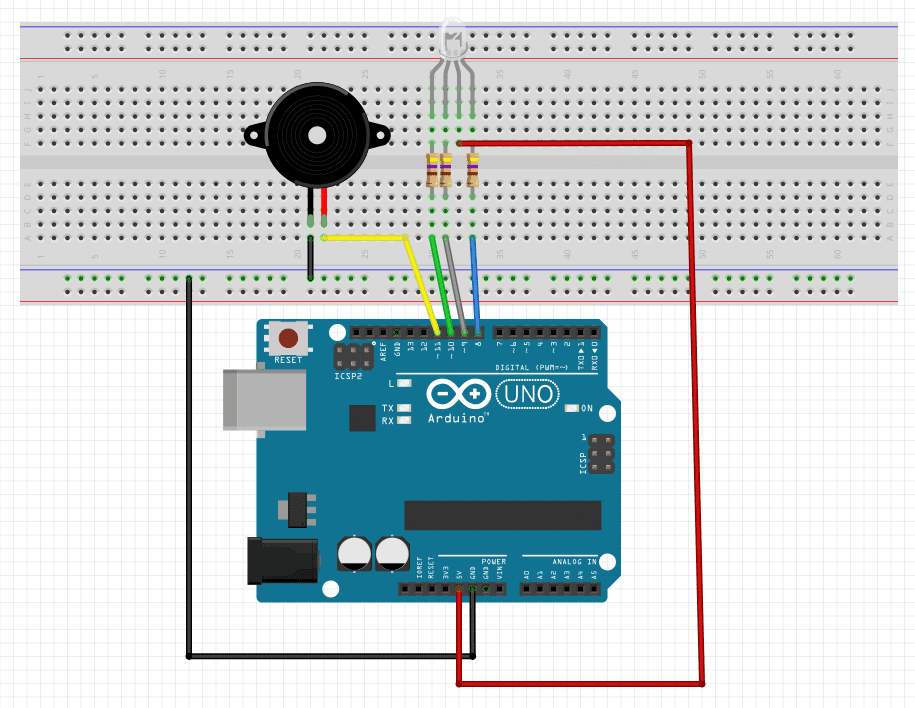
The complete circuit. The IR receiver stays in the same pin of previous example.
This is the complete algorithm.
#include <IRremote.h>

#define IR_RECEIVE_PIN 7

int RGB_red=8;
int RGB_blue=9;
int RGB_green=10;
int buzzer=11;

void setup() {
  Serial.begin(9600);
  pinMode(RGB_red,OUTPUT);
  pinMode(RGB_blue,OUTPUT);
  pinMode(RGB_green,OUTPUT);
  IrReceiver.begin(IR_RECEIVE_PIN);
  digitalWrite(RGB_red,HIGH);
  digitalWrite(RGB_blue,HIGH);
  digitalWrite(RGB_green,HIGH);
}
void loop() {
  if (IrReceiver.decode()) {
    IrReceiver.resume();
    Serial.println(IrReceiver.decodedIRData.command);
  }
  if(IrReceiver.decodedIRData.command==22){ //Pressed 1 key.
    digitalWrite(RGB_red,LOW);
    digitalWrite(RGB_blue,HIGH);
    digitalWrite(RGB_green,HIGH);
  }
  if(IrReceiver.decodedIRData.command==25){ //Pressed 2 key.
    digitalWrite(RGB_red,HIGH);
    digitalWrite(RGB_blue,LOW);
    digitalWrite(RGB_green,HIGH);
  }
  if(IrReceiver.decodedIRData.command==13){ //Pressed 3 key.
    digitalWrite(RGB_red,HIGH);
    digitalWrite(RGB_blue,HIGH);
    digitalWrite(RGB_green,LOW);
  }
  if(IrReceiver.decodedIRData.command==12){ //Pressed 4 key.
    digitalWrite(RGB_red,LOW);
    digitalWrite(RGB_blue,HIGH);
    digitalWrite(RGB_green,LOW);
  }
  if(IrReceiver.decodedIRData.command==24){ //Pressed 5 key.
    digitalWrite(RGB_red,HIGH);
    digitalWrite(RGB_blue,LOW);
    digitalWrite(RGB_green,LOW);
  }
  if(IrReceiver.decodedIRData.command==94){ //Pressed 6 key.
    digitalWrite(RGB_red,LOW);
    digitalWrite(RGB_blue,LOW);
    digitalWrite(RGB_green,HIGH);
  }
  if(IrReceiver.decodedIRData.command==64){ //Pressed OK key.
    digitalWrite(buzzer,HIGH);
  }else{                         //If press any other key, buzzer turns off.
    digitalWrite(buzzer,LOW);
  }
}
Pressing buttons 1, 2, or 3, the LED lights up in one of the primary colors. When press 4, 5, or 6 can light up two colors, other keys can be added. The next project is a robotic arm with three servomotors controlled by IR. This is the assembled arm.
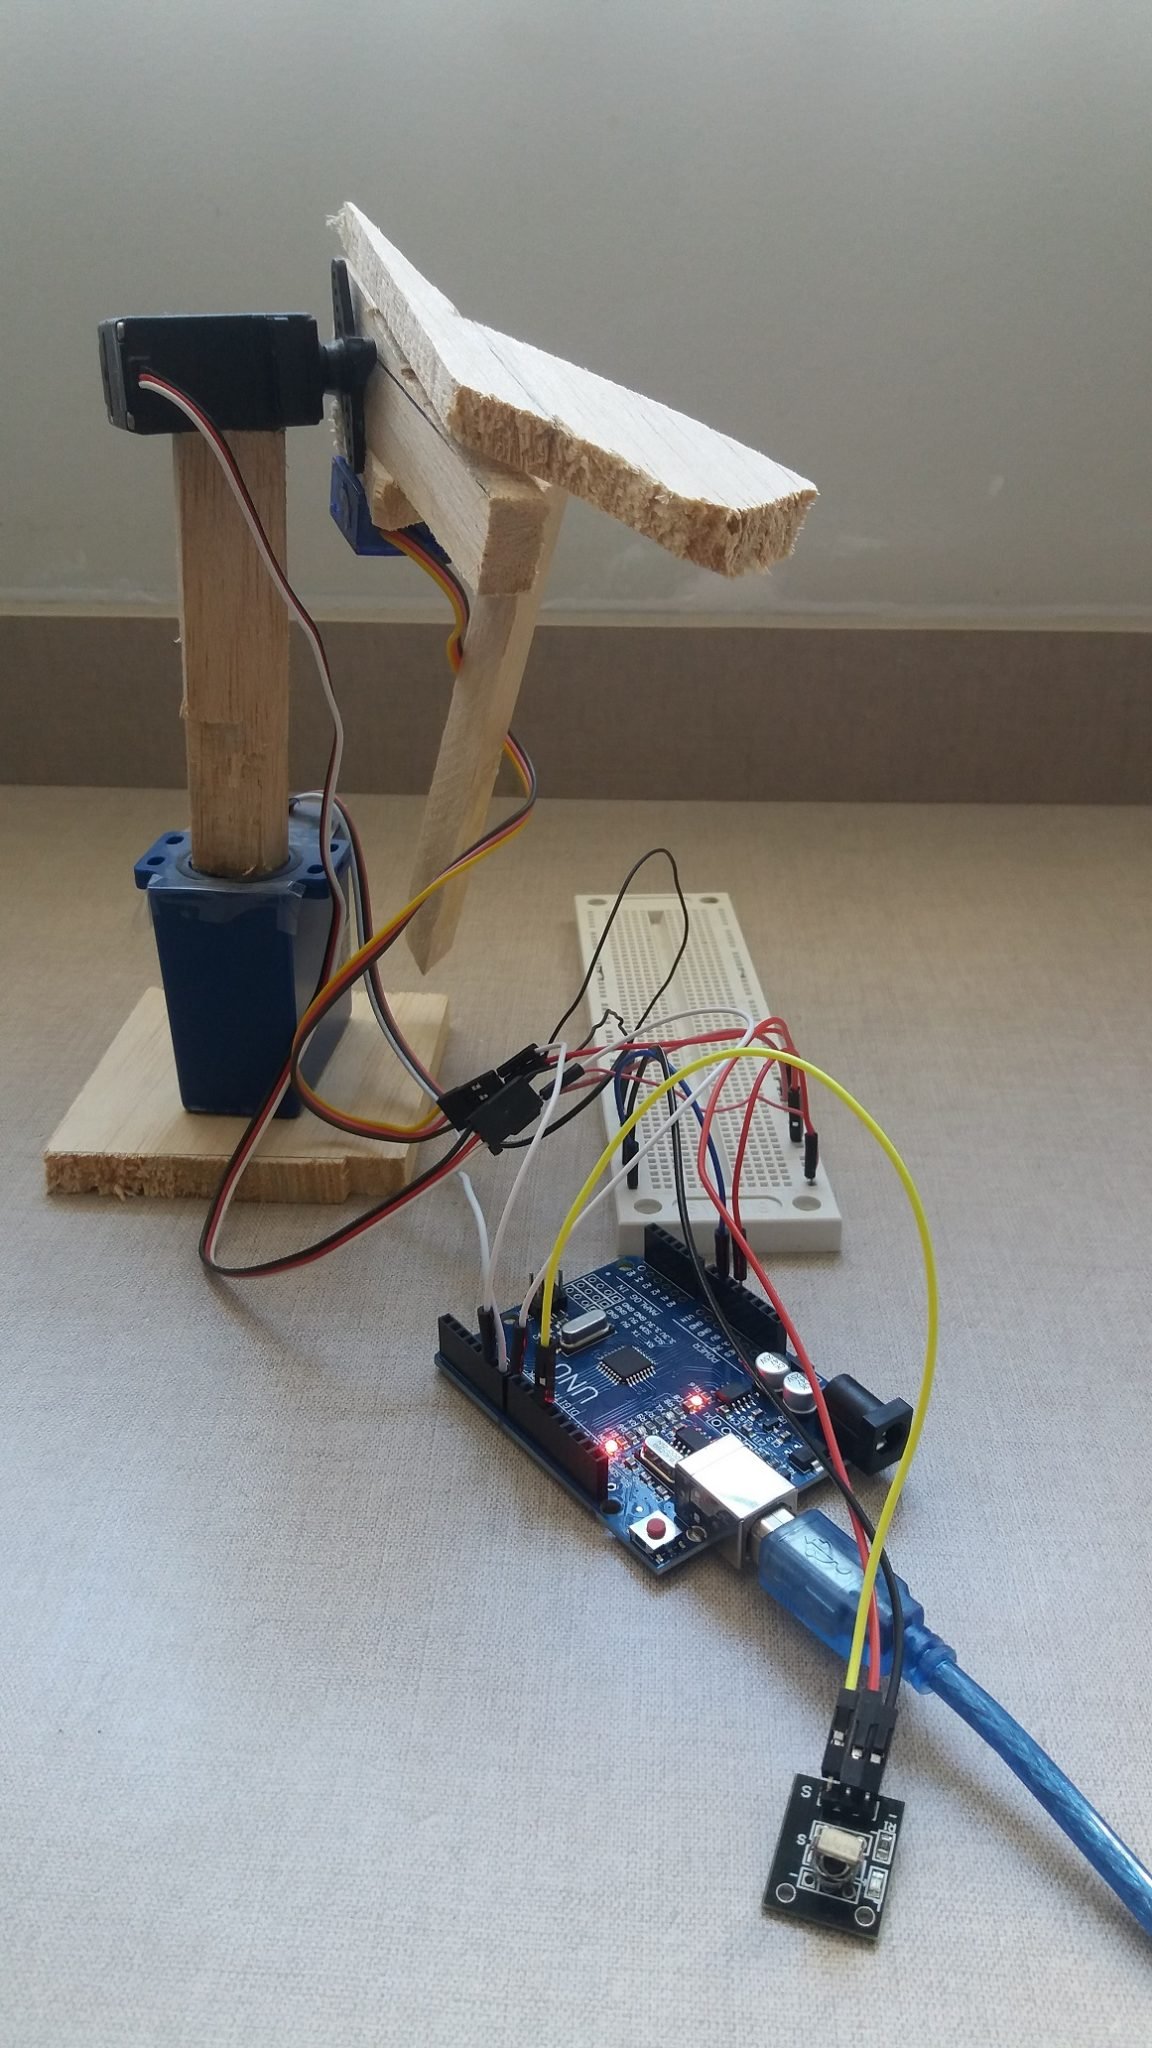
This is the algorithm.
#include <Servo.h>
#include <IRremote.h>

#define IR_RECEIVE_PIN 7

Servo servobase;
Servo servotower;
Servo servohand;

void setup() {
  Serial.begin(9600);
  IrReceiver.begin(IR_RECEIVE_PIN);
  servobase.attach(9);
  servotower.attach(10);
  servohand.attach(6);
}

void loop() {
  if (IrReceiver.decode()) {
    IrReceiver.resume();
    Serial.println(IrReceiver.decodedIRData.command);
  }
  if(IrReceiver.decodedIRData.command==22){
    servobase.write(100);
  }
  if(IrReceiver.decodedIRData.command==12){
    servobase.write(10);
  }
  if(IrReceiver.decodedIRData.command==25){
    servotower.write(10);
  }
  if(IrReceiver.decodedIRData.command==24){
    servotower.write(100);
  }
  if(IrReceiver.decodedIRData.command==13){
    servohand.write(100);
  }
  if(IrReceiver.decodedIRData.command==94){
    servohand.write(10);
  }
}
This video shows the robotic arm in operation.
 control will be subject to another post.)