
This post is part from a series of posts about how to use Arduino. It is a very easy microcontroller to learn and you can do many projects.
Materials
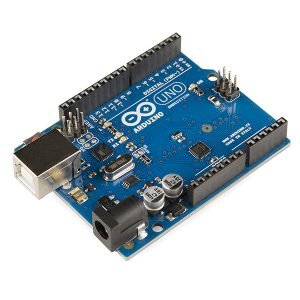
First you need to download the Arduino software. Can be in this site. The version I use is 1.6.9, because not always the most recent version is the best. You need also the Arduino board, there are various types of Arduino board and the way to use is the same.
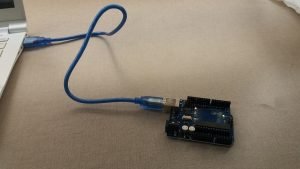
You have to plug the board to the PC and for that is necessary a cable with USB in one side.

With the cable connect the board with the PC.
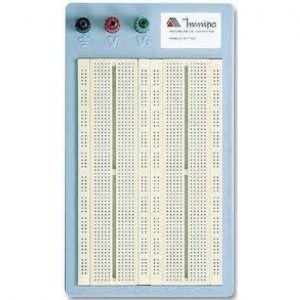
To put the components, you need a protoboard.
Digital outputs
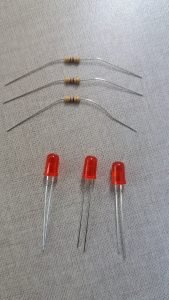
First let’s make a project which uses only digital outputs, by that, a project to turn on and off leds. For that, you need leds and resistors to not burn the leds. The resistor’s value can be 220, 330, 470 or 560Ω.
The circuit must be like this.
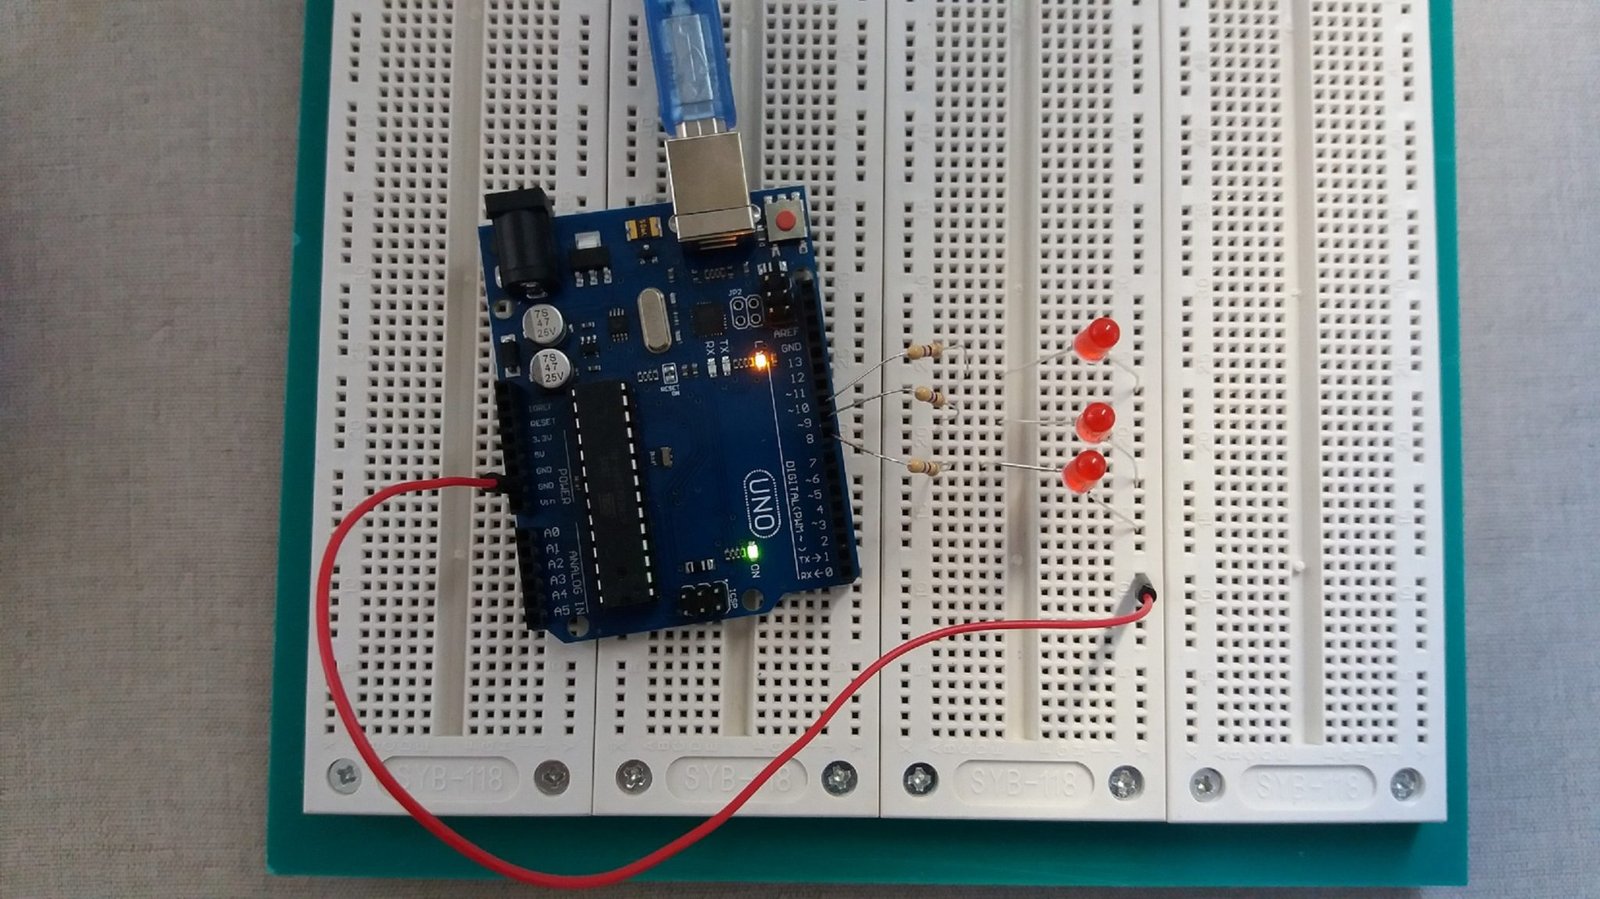
A more detailed vision.

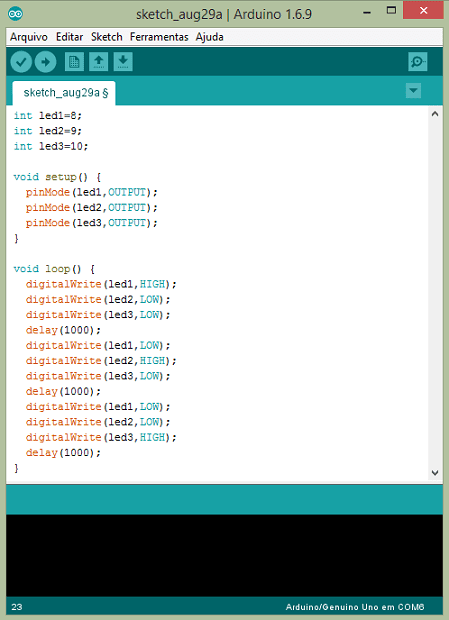
Now let’s create the program.
Before to execute the program we must do some things. First in Arduino’s applicative window we must click in “Tools”, then pass the mouse in “Port”, must appear “COM” with a number, click in “COM”.
Also you must go in “Tools”, then in “Board” and select the correct board you are using, here in case is the Arduino UNO.
Done that click in the buttons above and left. First in the √ and when below appear something like “Compilation Finished”, click in ⇒.

After the upload, the circuit must behave like this:
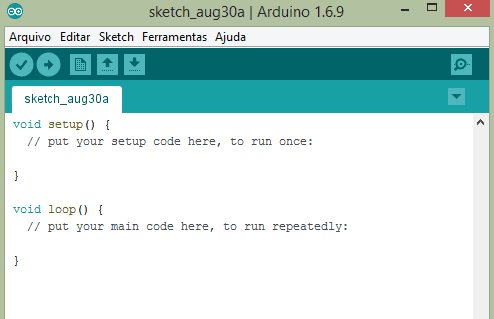
Understanding the program
When you open the application, you find two functions: void setup and void loop. In void setup is where are determinated the variables declared previously are inputs or outputs, in some cases it is where is determinated the speed of motors. In void loop is where the program’s action happen and repeat constantly.
Before everything you must declare the variables in this way:
int led1=8;
int led2=9;
int led3=10;
int means that the variable was declared as an integer; led1, led2 and led3 were arbitrary names and the number means where the variable must be connected, per example, 8 means it is in the output 8 of the board.
pinMode(led1,OUTPUT);
OUTPUT means you are saying the led1 is an output variable and pinMode is the setting to determinate if it is input or output.
digitalWrite(led1,HIGH);
digitalWrite(led2,LOW);
digitalWrite means that the Arduino must write in digital mode, since in digital there is only two possible values, HIGH is in high value and LOW in low value. The Arduino have to write led1 in high value and led2 in low value.
delay(1000);
delay is a timer function, the Arduino must wait in milliseconds before do anything.
It is important is every command must end with point and comma or else will have syntax error. With digital outputs you can control transistors to activate a higher power device instead a led, or a buzzer. In the next part of this tutorial I will show how to make with digital inputs and outputs.
