
This is a kit of 6 DOF robotic arm with aluminum pieces to assemble. It doesn’t come with servomotors neither instruction manual.
About the kit
DOF cames from Degrees Of Freedom, have already been published a post about this concept.
These are all parts of kit.

Assembling robotic arm
Claw

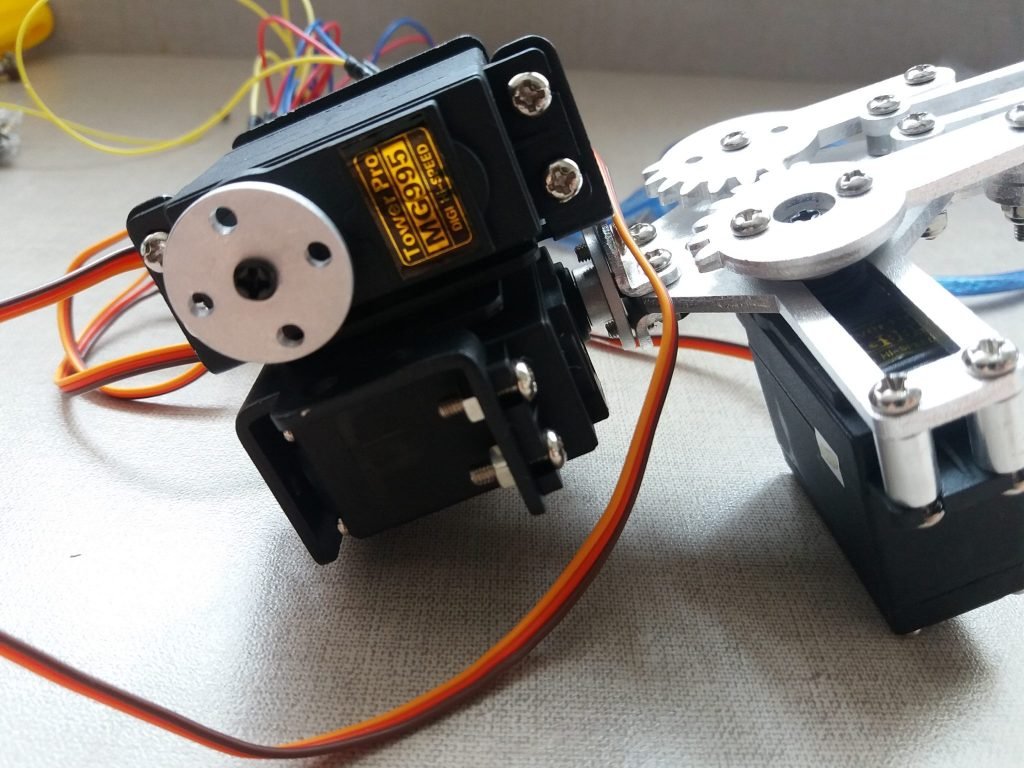
First step was to install 2 MG995 servomotors in the silver claw. Servomotor to this robotic arm must have high torque, MG995 has a torque of 9.40 kg·cm at 4.8 V and 11 kg·cm at 6 V. Futaba and Hobbico servomotors don’t serve for this application, due to low torque.

This part must be linked to claw. Two short screws are enough.

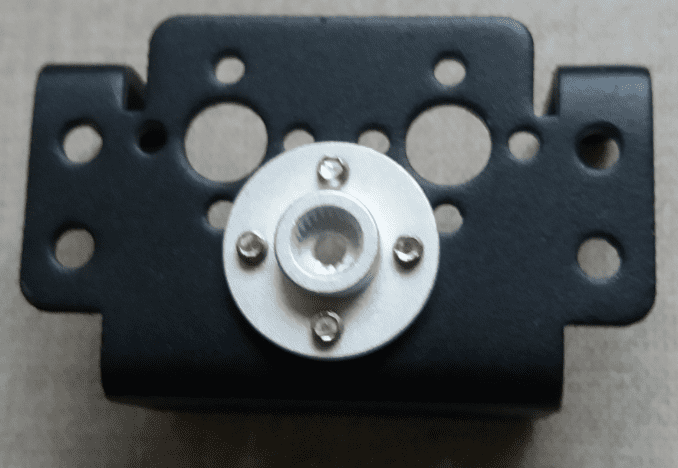
Disk can be easily attached to motor shaft.


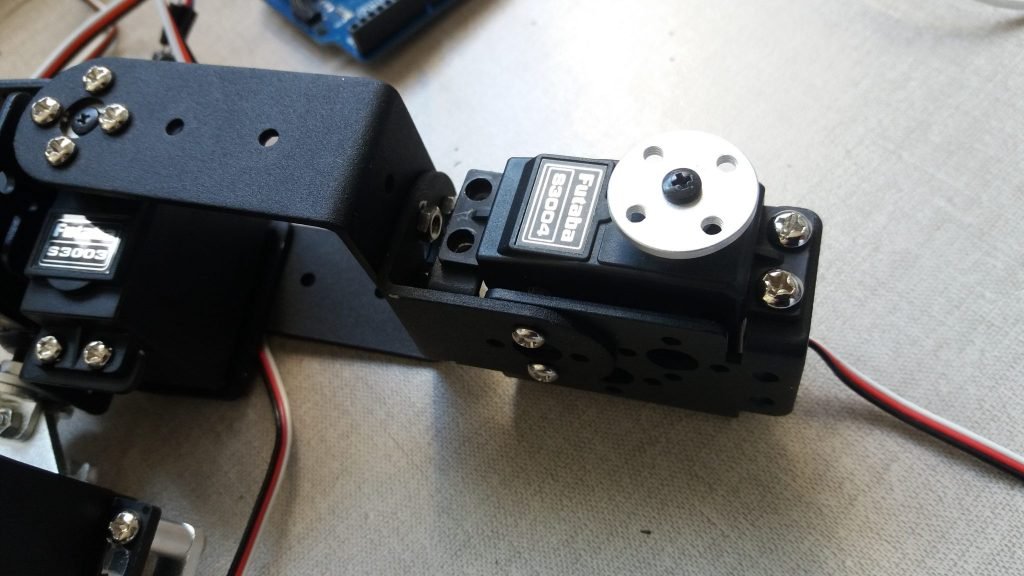
Another servo must be put in this place.

4 screws are used to attach motor to small tubes.

Placing a disk on shaft. Two screws must be used to attach disk to claw’s gear.

Complete claw with two servomotors.

Claw support
This part is used to place actuators.

These two equal pieces must be united by 2 small screws and 2 nuts.
Placing part above in the claw for third motor.

Third servomotor installed.

Must put a disk in servo to be connected to claw’s support.
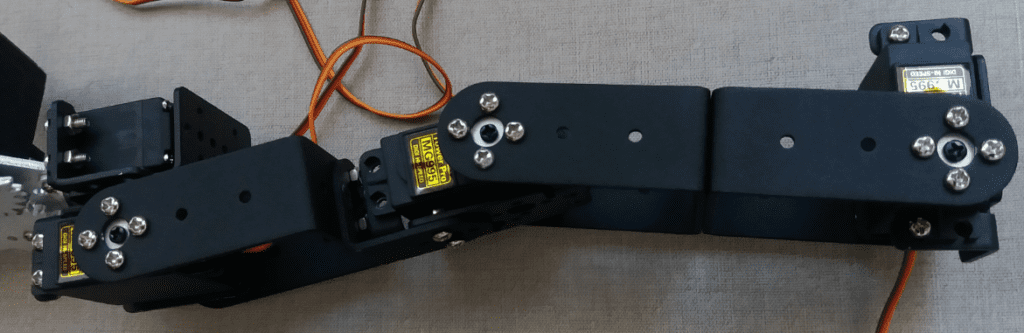
Linking a big part in shape of “U” in claw with 4 short screws.


Using these parts to install another servo.


And must be connected to the rest of robotic arm.
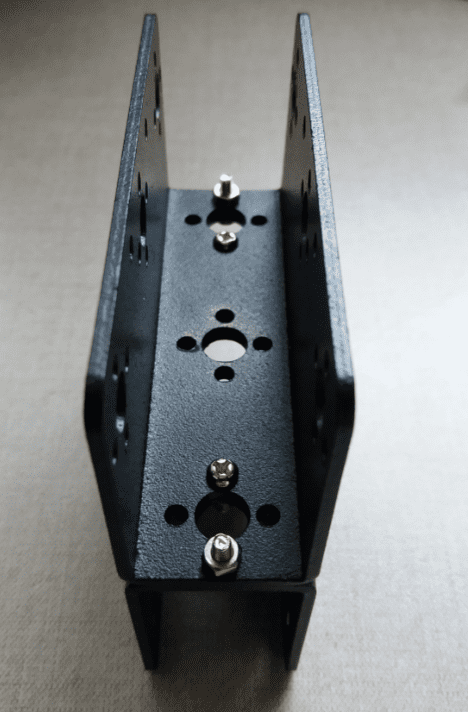
The next step is joint two pieces in “U” shape with two screws and nuts.

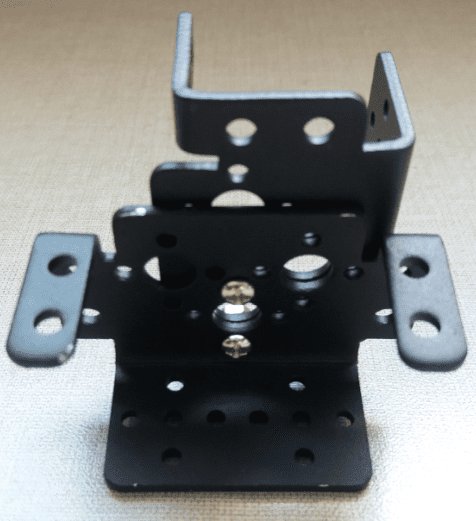
Base of 6 DOF robotic arm
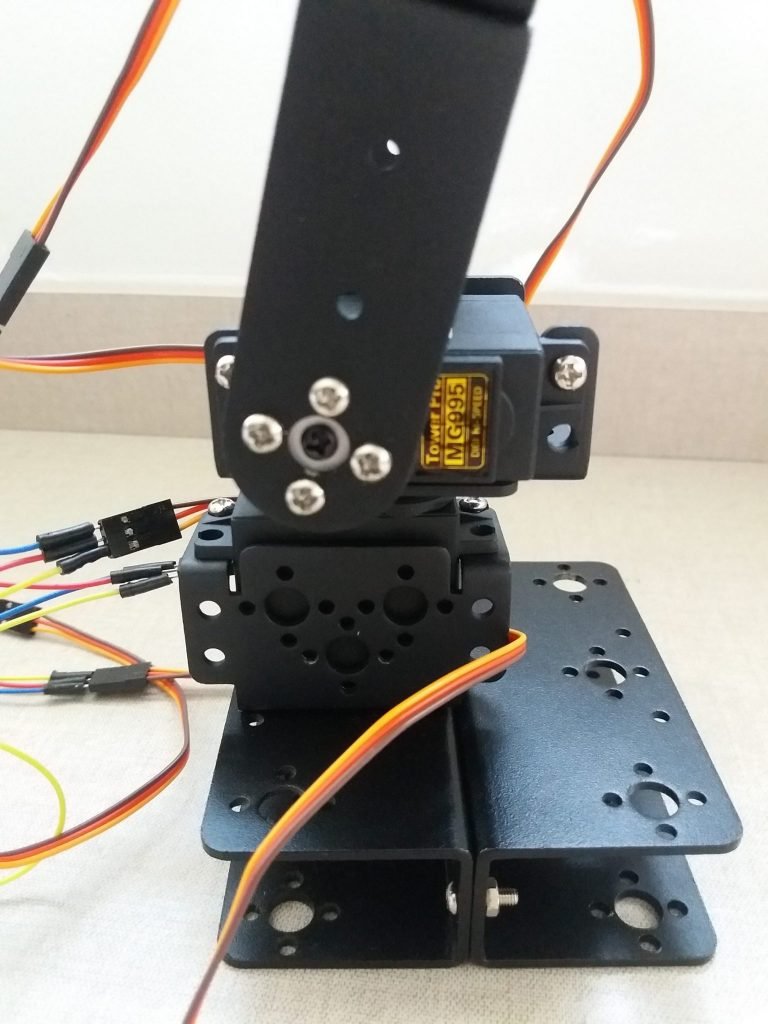
The last part is build the support base. Must unite these part in “U” shape.

This component will link the remaining motors.

Placing 5th actuator in the rest of arm.
Building the base.

Integrating base’s actuator to arm.

Robotic arm assembled with base.
The arm completed with all 6 degrees of freedom. With this base, robot will lose balance when makes some movements, therefore, it’s needed to use something to fix the base to prevent the fall. Like a glue, screws or more weight in base.

How to control the 6 DOF robotic arm? Can control it using Arduino and lines of code shonw in tutorial 3.
Arduino tutorial (Part 3)Click here
But this method is difficult and complicated for present application. Other alternative is use a board made to control many servomotors like PCA9685. The use of this driver will be subject for another post.